Showing posts with label daiso. Show all posts

Saturday, January 21, 2012

Contemporary Cleopatra

Cleopatra, in my opinion, was one of history's most intriguing people.  She was ambitious, intelligent, and, though not described as an incomparable beauty, worked her womanly wiles in such a way that snared the hearts of some the world's most legendary leaders.  She was the last pharaoh of Ancient Egypt.  Thousands of years later, she would continue to be an inspiration.  Today's tutorial is dedicated to her.  I'm not really sure how she did her makeup then, there's only speculation and media representation, but I'm going to do my best to capture her essence in a modern, wearable way.  This is what I came up with:


Of course, there have been countless interpretations through the ages:


I definitely wanted the gilded look, but I was going for something a little more subtle, in fact, I ended up going to work like this and received many compliments.

So, to start, I'm going to apply Urban Decay's Primer Potion in Greed to my upper and lower lids:


Next, I'm going to apply Urban Decay Eyeshadow in Chase (from my 15 Anniversary Palette) to my upper and lower lids:


Then, using black gel/cream eyeliner (I'm using the Wet N Wild brand), I'm going to create a leonine eye shape by winging my upper lash liner and extending my inner corner liner:


With Sephora's Glitter Eyeliner in Gold, I'm going to accent my top lash line:


For extra shimmer, I'm going to highlight my brow arch with Josie Maran Argan Illuminizor:


Then I'm going to curl my eyelashes and apply mascara (Maybelline Full N Soft Waterproof in Black):


To finish, I'm going to add some glittery eyelashes (from Daiso):


For a complete look, I applied ELF Studio Bronzer in Golden to my cheeks and applied Stila Lip Glaze in Vanilla to my lips:


Not bad!  I think I nailed Cleopatra without looking too costume-y, although it would have been cool if I had one of those ornate braided wigs with the gold accents!

Anyways, hope y'all enjoyed the tutorial and have a great Saturday! :D

Hugs,
Cat

Thursday, January 19, 2012

Quickie Day-to-Evening Transformation

Hey all!  Just thought I'd show you how I to do a 5-minute, quickie day-to-evening makeup transformation.  Nothing too dramatic, I figured it's something that every girl should learn in case an impromptu after school or after work event pops up.  Case in point, hubby called me on his way home from work last night and asked me to attend a friend's deejaying gig at a chic hotel and lounge in San Francisco.  I was busy running errands at the moment and would only have minutes from the time I got back to our apartment to freshen up before going out.  I decided to keep things simple, yet sparkly and shimmery.  Here's what I came up with on the fly:

Before and after.

I have to be in class no later than 8:30 am on the weekdays and my university is about a 30-45 minute drive depending on traffic.  So lately, I've only been doing brows, cheeks, eyeliner, and tinted balm.  There's really no time for much else unless I want to wake up at 5:00 am and, trust me, I'm not a morning person AT ALL!  To spruce up, I focused mostly on my eyes:

Before: simple winged eyeliner

I re-defined my eyeliner, applied Sephora Glitter eyeliner in Gold along my winged line, applied mascara, added my Daiso glitter eyelashes, and highlighted my brow arch with Josie Maran Argan Illuminator.  Small changes, big difference!

After: glitter, eyelashes, shimmery brow arch highlight

I also touched up the color on my cheeks by applying ELF Studio Blush in Twinkle Pink (a nice peachy-pink with golden micro-glitter particles, a comparable dupe for NARS Super Orgasm) and slicked some Stila Lip Glaze in Vanilla on my lips to complete my all over golden glittery glow.


Slip on some jewelry and a cute outfit and I'm ready to go!  Unfortunately, we didn't quite make it to the party.  Husband decided he was too tired when he got home so we had a quiet, casual dinner date at a local italian restaurant instead.  Oh well, lol!  I hope he enjoyed gazing at my glittery face across the table while eating.

Anyways, hope you all enjoyed this post and found it useful.  Have a great night! :D

Hugs,
Cat
Saturday, January 7, 2012

Dangerous Part 2

Good evening everyone!  I'm going to make today's post short and sweet.  Can you believe I've been out of the house from 8:45am this morning until now (11:45pm)?  I took a short break for lunch during work to reply to comments and emails, but otherwise, I haven't had a moment to even think about blogging.  But, here I am!  So, I tried another look today with my new Urban Decay Dangerous palette, which, unfortunately, seems to be sold out at the moment. :(


Following the same technique for my previous Dangerous tutorial, I used these colors instead:


I used Gunmetal for the inner half of my upper eyelid, Oil Slick for the outer corner of my upper eyelid, and Haight along my bottom lash line.  I also enhanced my upper lash line eyeliner with Sephora Glitter Eyeliner in Silver and applied Daiso false lashes. (Which you can enter to win in my latest GIVEAWAY!)

Well, that's it for tonight!  Off to bed...I know it's early for a Friday night, but this Cat needs to hit the sack! :D

Sweet Dreams!
Cat

Friday, December 30, 2011

Daiso Eyelash Giveaway!

Hey hey!  Thought I'd announce my latest giveaway to celebrate breaking 200 GFC subscribers! :D Sooooooooooo y'all know that Daiso eyelashes are my favorite eyelashes in the world.  They're lightweight, flattering, comfortable...and the price is very nice.  But I also know that they're not widely available, so here's your chance to win some of your own! I'm giving away one box of Daiso Daily Eyelash Style "A":


AND I'm giving away one box of Daiso Flared Glitter Eyelashes Style "F":


That's TWO boxes of eyelashes for a total of FOUR pairs!  There will also be TWO winners eligible for the prize, which increases everyone's odds. :D


So!  Here are the rules:

- Subscribe to my blog and comment below so I know that you're in it to win it!

- For a bonus entry, follow me on Bloglovin' and "like" this giveaway.  Just comment below that you have so I can enter you twice.

The winners will be randomly chosen via Random Number Generator.  There are no restrictions on who can enter.  Girls, guys, dogs, cats...whatever.  I don't discriminate.  International entries are also welcome.  :)

The drawing will take place Friday, January 13, 2012.  Oooooh...Friday the 13th!  Good luck and happy entering!

Hugs,
Cat

Tuesday, December 13, 2011

FOTD: Pretty Pastels

Hey y'all!  Just thought I'd post a quick face-of-the-day.  I'm so relieved that I'm on Christmas break from school right now.  Unfortunately, that also means taking care of all the errands I've been putting off all school year.  My goal is to get most of them out of the way today, which will leave me more time in the following days to do more tutorials, reviews, style posts, etc. :D  Here's a soft pastel look I created today using mainly ELF:


:: Eyes ::

:: Lips ::
Mineral Lipstick in Runway Pink

:: Cheeks ::
Studio Blush in Pink Passion

I'm sooooooooo OBSESSED with this lip color combo.  Runway Pink makes such a pretty lip base and Perfect Pink glossed over it gives it the perfect boost of color, shine, and fullness.  I've been wearing these for the last 5 days in a row.  I just can't get over how romantic and feminine this looks! 


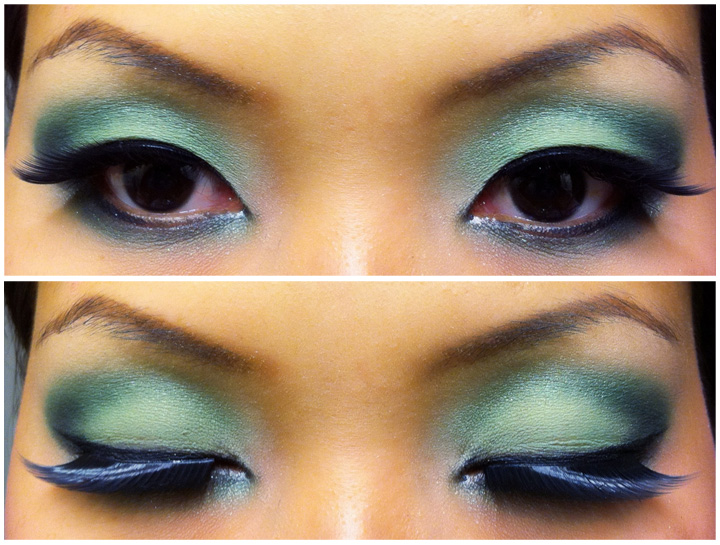
Soft, mint-green is one of my favorite colors and I haven't worn this one in awhile.  It was looking a little lonely in my train case so I decided to wear it today. :)  I enhanced it with LA Splash Glitter Liquid Liner in Onyx and some glittery Daiso eyelashes.

Happy Tuesday, everyone...and off I go! :D

Hugs,
Cat

Thursday, November 3, 2011

Blue Sparkle Tutorial

Hello!  So I had this sparkly blue eyeshadow look on yesterday while doing the triple bun updo tutorial.  I mentioned that I would do a tutorial for the makeup today, so here I am.


Unfortunately, I didn't have time to do a video tutorial for it, so I hope you guys don't mind an old-school, step-by-step photo tutorial. :)

So, the first step is to apply some tealish-blue shadow to my eyelid (primed with Lime Crime Candy Eyed)  I used my good ol' Blue Had Me At Hello palette by Wet N Wild:


Next, I'm going to use the ice-blue shade from the palette to soften the edges of the teal shadow:


With a black eyeliner pencil, I'm going to trace my upper and lower lash line:


Then, using the black matte shadow from the palette, I'm going to layer it over the black liner:


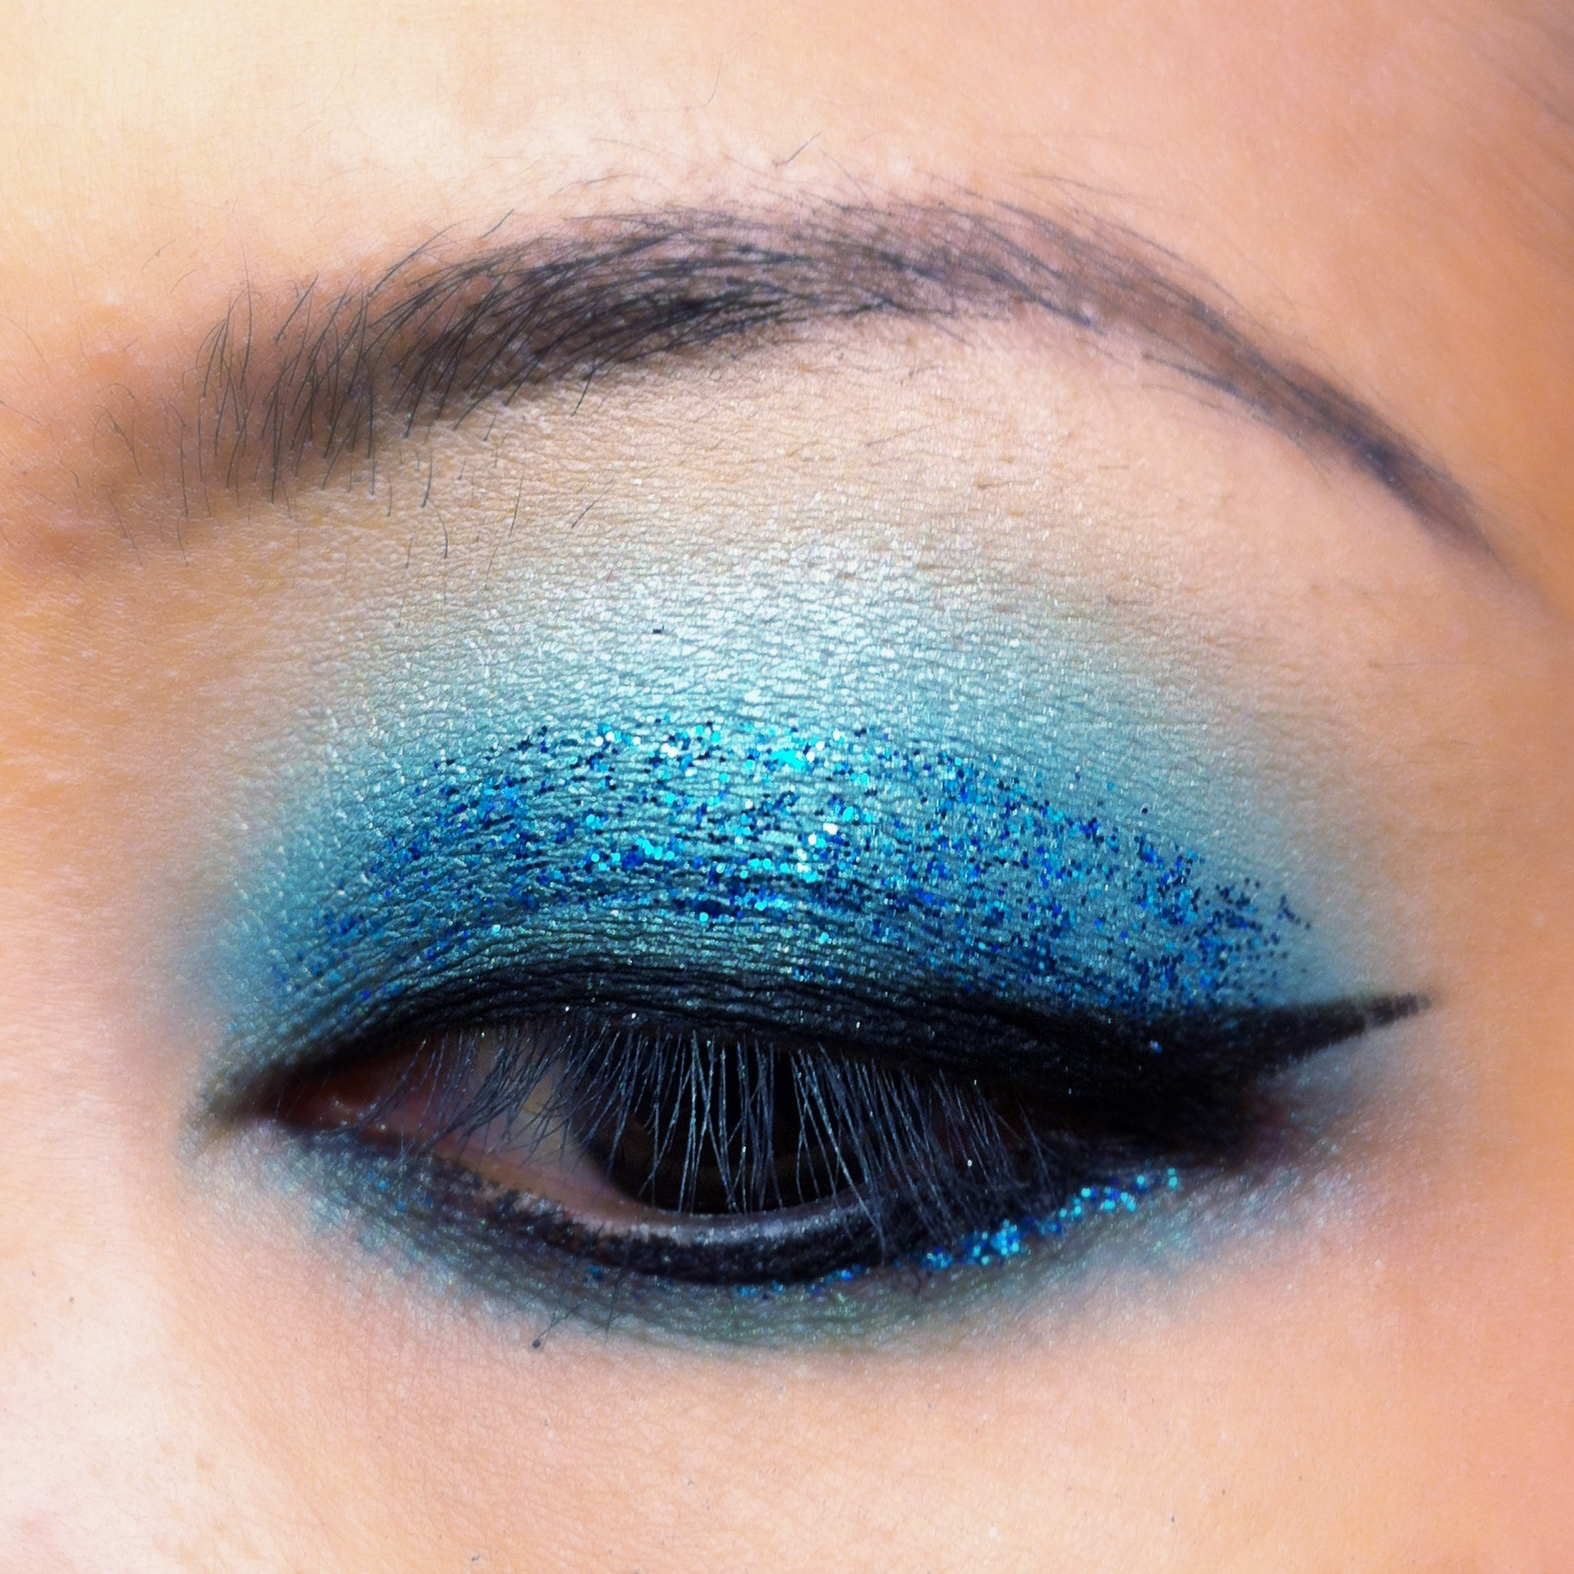
Now I'm going to apply glitter all over my eyelid and along my lower lash line with Sephora Collection Glitter Eyeliner in Teal:


Using Wet N Wild Mega Eyes Cream Eyeliner, I'm going to paint a winged line along my upper lash line and enhance my lower lash line:


To finish the look, I curl my lashes and apply mascara and false lashes.  I used Daiso Daily Lash Style A:


Here is me looking "moody".  Lol.


I used a filter from my Camera+ app to create a vintage, aged look for this photo.  Isn't it cool?

Wednesday, September 14, 2011

Review: Daiso Flared Angled Lashes

So I finally got the chance to review these cool flared lashes from Daiso:


I've never had lashes like these before, so I was really excited to try them out.  They remind me of wings, don't you think?  For a $1.50, they came neatly packaged with a little tube of eyelash glue included.


Since these lashes look so dramatic, I thought it would be fitting to have dramatic makeup as well.  Here are my eyes before application:


I decided not go to with the included lash glue and opted for my own.  My makeup is dark, so I used dark eyelash glue which dries to black, thus blending better with my dark liner.


They look even more intense on than in the box!


These babies are so thick, long, and sweeping that they completely cast a shadow over my eye like an awning.  LOL!


Yep yep, lots of drama!  I definitely wouldn't recommend them for everyday wear.  Maybe more for special occasion or even for costume makeup.  They're on the heavier side, to be expected, and because they're so long, I find that they interfere with my peripheral vision which can be annoying after a long period of time.  Sure are fun though!


Sunday, September 11, 2011

Review: Daiso Long Cross Lash Style "F"

For this next false eyelash review, I decided to choose the glittery ones. :D


I was really excited to try these ones out.  I love how fine they start out at the inner corners and gradually  grow fuller, longer, and delicately winged towards the outer edge.


Just like the Daily Lash Style "A", I didn't need to trim these because they were designed for smaller, Asian eyes.  I just put a thin line of lash glue along the strip and wait a few seconds to let it get a little tacky:


Then I apply them closely to my natural lash line with the help of tweezers:


Fancy!  What a difference! :)


Thursday, September 8, 2011

Review: Daiso Daily Lash Style "A"

Since I got a bunch of lashes in the other day from Daiso, I thought I'd do a quick review on them. :D  So far, I've gotten a chance to try the Daily Lash Style "A":


False eyelashes are usually the final step in completing an eye look, so my eyes have already been completely made up.  Be sure to curl and add mascara to your own eyelashes, it helps the false lashes blend in more naturally.


2 pairs for $1.50.  Woo woo!


Add a thin line of a glue to the strip:


I wait a few seconds, blowing on it a little so that the glue gets a little tacky, then with the help of tweezers, I glue them as close to my natural lash line as possible:


I give them a minute or two to dry completely and I'm done!


Bam!  Instant glam!  All in all, I'd give these lashes a 4 out of 5.  They're lightweight and easy to apply.  Because they're made for more of an Asian eye shape, I didn't have to trim them like I do with most lashes.  My only complaint is that the strip is a little on the hard side and not very flexible, but they look and feel good on, for the most part.  But for $0.75 lashes, I really can't complain.  I'm really looking forward to trying the other styles!