Those of you that know me probably know that I'm a fan of Tron. Thus, when Tron: Legacy premiered, I was absolutely ecstatic. It's one of my favorite films of all time. I'm not going to argue about plot, acting, dialogue, etc. I love it because I love it, period.
And as much as I love Tron, I love Quorra even more.

Immediately after I got home from watching the film, I grabbed my blackest eye liner, blackest eye shadow, and a pair of false lashes and got to work. This pretty much sums up the tutorial we'll be going over today. Now I'm fully aware that, compared to Olivia Wilde's perfect peepers, my small, almond-shaped eyes may as well not exist at all. Nevertheless, I'm gonna do my best with what I've got. So here goes with my interpretation.
We start with naked eyes.

Well, not completely naked eyes. Remember when we learned to use eye shadow primer in our basic eye tutorial? We're gonna do that. Except, instead of putting on a layer of base shadow, we're going to simply use a small blush/powder brush to apply some pressed powder instead. (you can also use a kabuki brush to do so)

Next, using my fav HIP Colorchrome black eyeliner, we're going to line our entire top lid. We're going to start drawing boldly from the outside corner and taper into a thin line as we reach the inner corner.


For the next step, we're going to add a little wing. Using our liner, we're going to start at the outer corner of our bottom eyelid and draw a neat, tapered little flick upwards.

The result should look a little something like this:

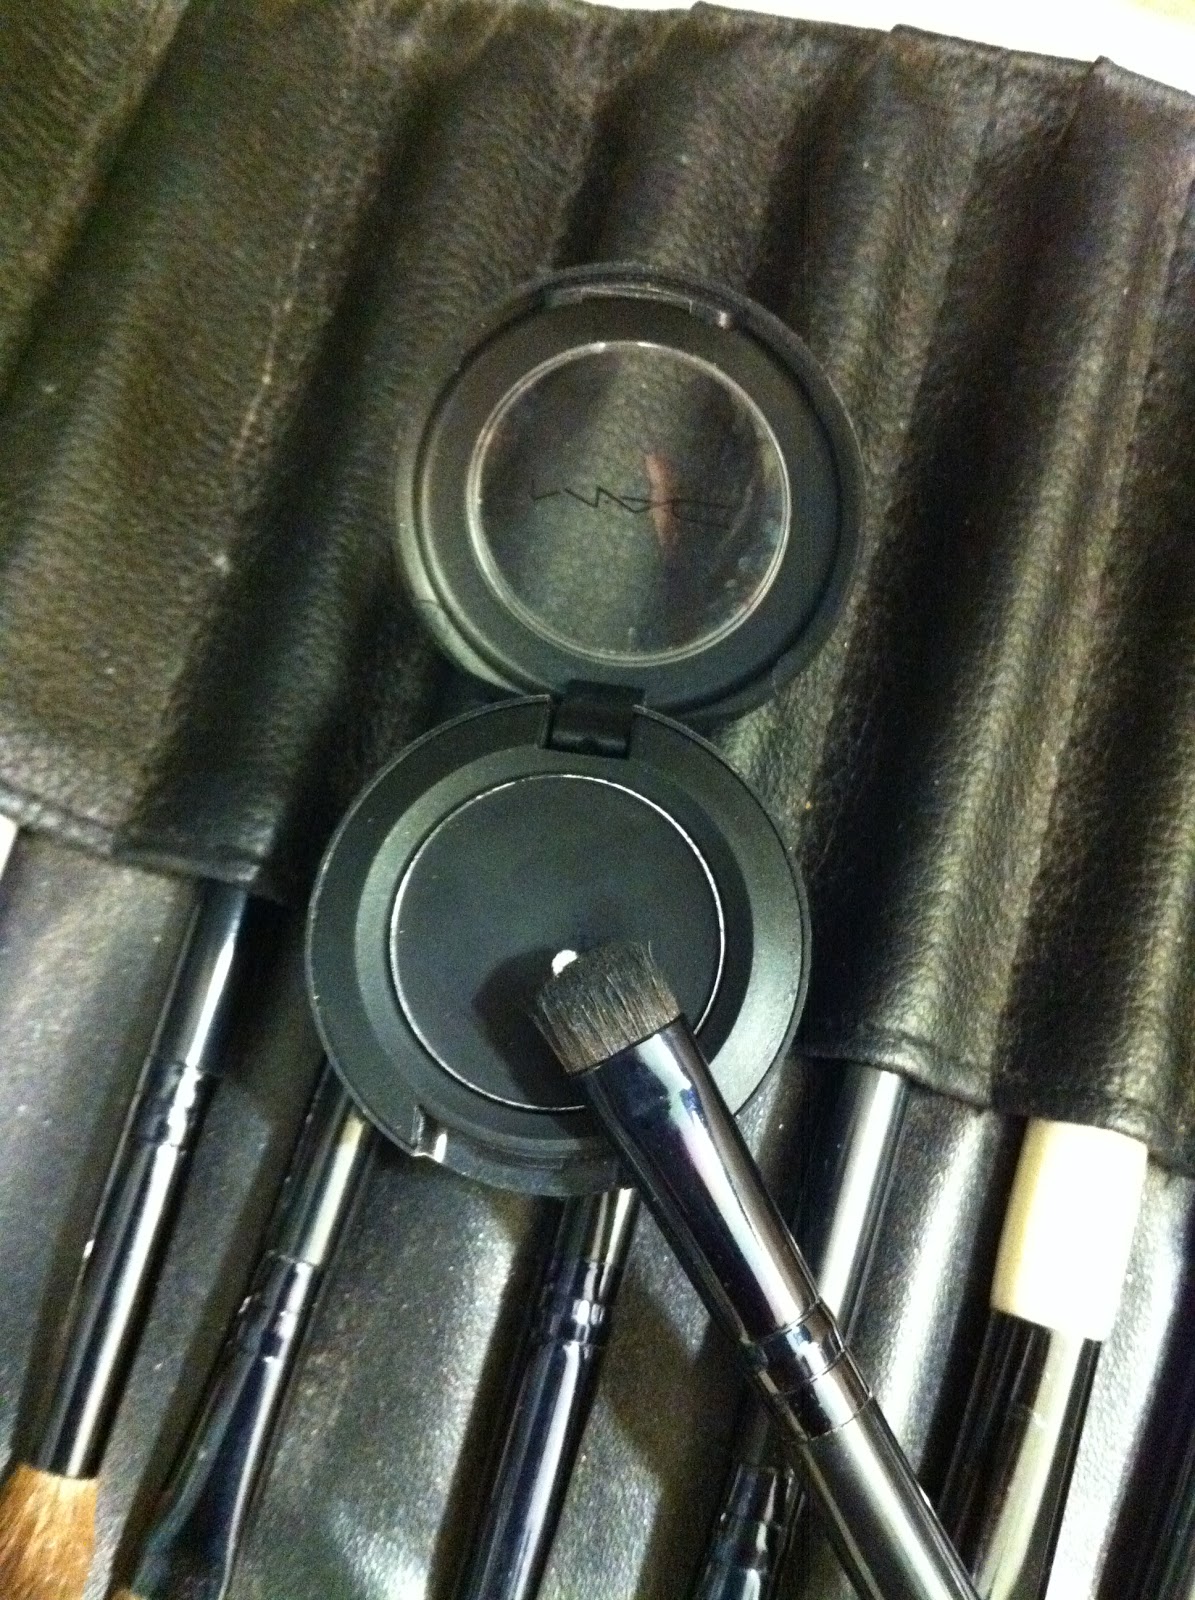
Now that we've drawn an eyeliner outline for our look, we're going to set and smudge our liner using a small smudge brush and black eye shadow. Here I'm using a Studio Basics small shadow smudge brush. I picked it up at Target for about $3. One of my fav shadow brushes ever. I loved it so much I bought three. As for black shadow, I'm using MAC's Carbon. MAC is expensive, I know. I just happened to have a gift certificate so this is what I used it towards. Nearly any other black shadow will do, including the one in the E.L.F 100 shadow palette, so don't feel like you have to get out there and get something expensive.
We're gonna want to pick up some black shadow on our smudge brush and basically layer it over our eyeliner in order to set it. By setting it, I mean to prevent it from budging. While we set our liner with shadow, we're also going to smudge and blend a little along the way to get a faint, smokey look. Start with the top lash line.

Then do the same to the bottom lash line:

Last, but not least, we're going to set our little wing by carefully applying black shadow on top of it. Be sure not to smudge too much or else you'll lose the definition.
 |
| Sorry about the blur, I must have blinked or something, but you get the picture. |
The result should look sort of like this:

As far as the look, you can pretty much stop at this step. So if you're lazy, you're done! However, if you have the time and would like to add a little extra oomph to your Quorra eye, do think about trying the next two optional steps.
To take our look a little further, let's refine our wing. We're going to do so by neatening it with some black liquid liner. Here I'm using Prestige's Liquid Glitter Precision Eyeliner. Don't be fooled by the name. This liquid liner practically has no glitter in it. I just like to use it as a solid, black liquid liner. It's one of my favorites, I'm on my fourth or fifth one now. The formula is pretty smooth and the applicator is well-designed. The brush is very fine and the handle is nice and long so you get good precision. I picked mine up at CVS for less than $8.

Using our liquid liner, we're going to define the tip of our wing to a tidy little point.

Once we've completed this step, the result should look a little like this:

It's only a subtle difference, but you can see that our wing is nice and sharp where it was softer before.
Now that we're done with refining our wing, let's curl our lashes and add a coat of mascara to prep for our next step: adding false corner lashes. Now if you already have long and lush lashes, you can go ahead and skip the falsies step if you'd like. If you want a little extra something for some added drama, please proceed.

You'll want to take a pair of natural-looking lashes and cut them in half. (don't use lashes that are too full or else your wing will get lost in the fullness) We're going to use the shorter halves so you can either throw away or save the longer halves.
Apply a thin line of eyelash glue to your false lashes. I like to use dark glue because it dries to black, blending seamlessly with the black liner.

With the option of using tweezers for precision, adhere the lash strip right above your natural lash line along the outer corner of your upper eyelid.

Once you've completed this step, you're done!

Complete look, before and after:

There you go! Now we can all run around looking like Quorra. Yay! Ok, so I don't look anything like her, but a girl can always try. Maybe I'll get a wig or something. I hope these instructions have been helpful! As always, these tutorials are simply suggestions on how to achieve certain looks. Feel free to omit, or elaborate upon any of these steps. For example, to pump up the drama for our Quorra Eye, thicken the black liner and shadow and extend the wing out even further. Or, to kick it down a notch, nix the wing and forget about the extra lashes.
Nice! I like this look. I might try it sometime soon! However, since i'm the lazy type, i'll most likely skip the last 2 steps haha XD
ReplyDeletelol! i know it's true too.
ReplyDelete